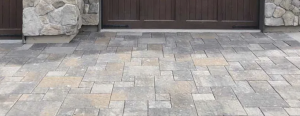
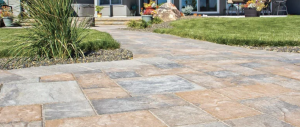
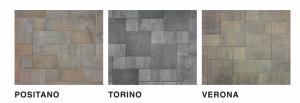
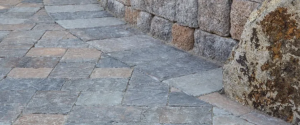
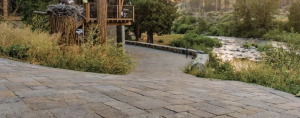
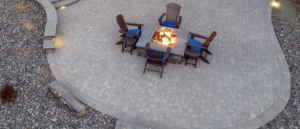
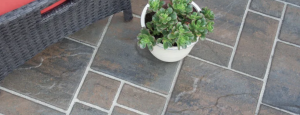
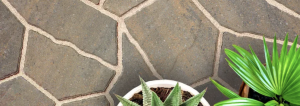
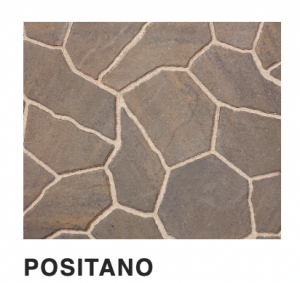
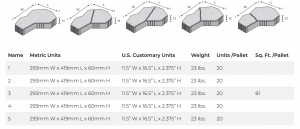
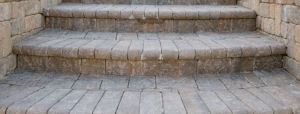
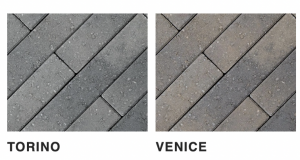
Artisan Slate Pavers
Artisan Slate Premier Pavers
Italian Renaissance Pavers
Country Cobble Pavers
San Fransisco Cobblestone Pavers
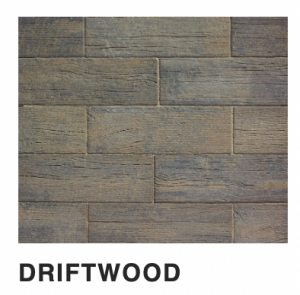
Wood Grain Pavers
Mission Metric Pavers
Heartland Pavers
Circle Kit Pavers
Artisan Flagstone Pavers
Bullnose Pavers
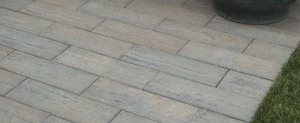
Plank Pavers
Basalite Pavers & Where to buy pavers in Boise
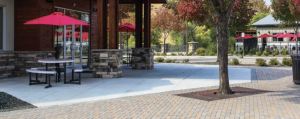
The popularity of pavers is sky-rocketing in the Boise area and Victory Greens has been here to bring you only the best landscape materials. To ensure quality, we only carry Basalite products, and now we have become one of the largest Basalite dealers in the Treasure Valley. We would love to assist you on your journey to your backyards evolution.
Basalite is one of the largest producers of concrete masonry products in the northwest and they have developed a reputation for exceptional concrete products that exceed industry standards. The unparalleled beauty, low-maintenance, and long-term cost efficiency of Basalite paving stones is becoming increasingly ubiquitous. They are also well suited for the DIY handyman.
Beat your neighbor to the punch and get to work! Whether you are planning a patio, pathway or paving a driveway, we have a paver solution for you. With the tip below and the DIY videos you will be able to do-it-yourself. Victory Greens wants to help your home be the talk of the town by personalizing your landscape and including brick pavers.
For the best place to buy pavers, come to Victory Greens and choose from our wide variety of unique pavers in versatile shapes and sizes, we are sure to satisfy! Remember Victory Greens guarantees the best price and we deliver.
~ Victory Greens
Paving Stone Cobblestone Premier
Paving Stone Tuscan Autolay
Paving Stone Old World Cobble *special order
Tips for DIY Installation of Pavers
- Carefully plan out your project. Measure the perimeter and stake the area several inches outside of the desired finished edge. Use a string and tie the string to top of your estimated level of the finished grade of the new pavers.
- Remove any vegetation and unwanted soil about 6 inches below the finished grade of the pavers. Make sure to consider any slope for drainage while preparing the base.
- Use 3/4 road mix to fill the base up to 1 inch below the bottom of the paver when it is figured to the finished grade. This will leave you a little over an inch of area for sand once the gravel is compacted. Use a screed board and rake to assist in your grading effort. It needs to be fairly close to flat.
- Compact the gravel. Lightly moisten the gravel with a garden sprayer and fill in any uneven areas. Compact carefully again and lightly water again.
- Layout and install the Snap Edge edging pieces around the desired perimeter. Do not short yourself when installing the large nail/spikes (at least 10). They play a substantial role in keeping the pavers in place when you run you compactor at the end.
- Fill in a little more than 1 inch of compaction sand. Try to hold the grade of the sand where the top of the paver is about an inch above grade to account for the compaction process.
- Lay in two lengths of pipe about 6 feet apart in the sand. Use your screed board to screed off the top of the grade pipes to insure a nice flat surface. Do not walk on the sand once you have raked off the sand to its desired grade. Move the pipes as required to complete the grading process.
- Pre-lay your pavers where it is easy to access them. Determine what pattern you are going to follow and plan the pre-loading accordingly. Plan your starting place where you will be able to avoid stepping on leveled sand. You should be able to work directly on the newly laid pavers once you get going.
- Use a wet saw or dry diamond blade saw to cut any paver that need cut. There may be methods of cutting that will allow you to better utilize the scrap pieces and minimize waste. Remember to leave a little room for sanding in.
- Carefully tamp the pavers and compact them to insure everything is nice and level. If there is any irregularity, now is a good time to pull out the pavers that need adjusted and make the appropriate adjustments. Re-compact as needed.
- It’s time to set the pavers with sand. You can get by with regular sand but in a perfect world polymeric sand is the professional way to insure a long-lasting quality job. Spread the sand over the complete area and sweep it in all of the cracks. Be sure to fill all of the gaps and sweep off again.
- Now it’s time to compact to finish the job. It will be necessary to re-sand and re-compact a couple of times. The compaction vibrates the sand down into the joints each time you compact. Don’t worry, it will fill up and look awesome shortly. It is important to fill in the joints before finishing.
- Wow, you’re almost finished. Now, if you used polymer sand it is necessary to blow off the excess sand before setting the sand with water. Get your garden hose out and lightly spray off the newly paved area. The first application of water is very important. You want to make sure you are focusing on getting the small sediments in to the cracks. The let the water soak for 10 minutes and then rinse the pavers again, only with a little more water this time. For a long-lasting color, seal the pavers with a high quality paver sealer.
Take a load off. Enjoy your new paver area, you’ve earned it.
Servicing the entire Boise valley including, Eagle, Nampa, Caldwell, Kuna, Star, Middleton, Notus, Parma, Mountain Home, Homedale and Ontario Oregon. We quote reasonable rates on deliveries to McCall, Cascade, Garden Valley, Donnelly, Horseshoe Bend and Sun Valley


